 Safalfa Advisors
The Ashtanga Primary Series, posture by posture
Yoga Chikitsa step by step in the order it is practiced, repeats and both sides included, with the Sanskrit and English names, the drishti, and the breath count for each. Every posture has its own page with a walkthrough of how to get into it.
Free to print and share, nothing to sign up for. The sequence runs to 124 steps, both sides and every repeat included, drawn from 72 distinct postures.
10 steps
Surya Namaskara A
One round of the first sun salutation: nine vinyasas out and back, returning to Samasthitihi. Five rounds open every practice.
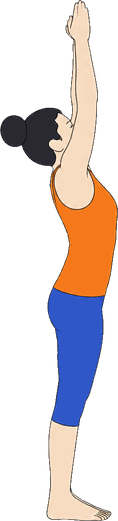 Urdhva HastasanaArms Raisedtransition
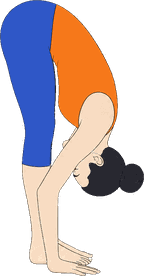 UttanasanaStanding Forward Foldtransition
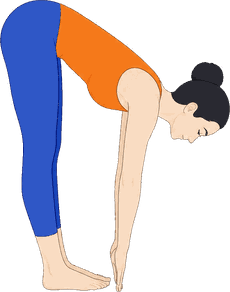 Ardha UttanasanaHalf Lifttransition
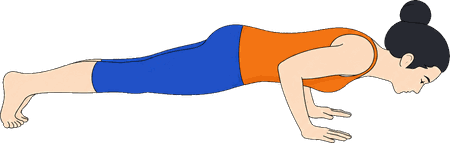 Chaturanga DandasanaFour-Limbed Stafftransition
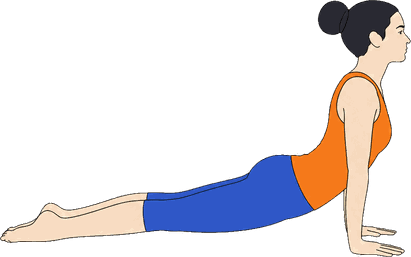 Urdhva Mukha SvanasanaUpward Facing Dogtransition
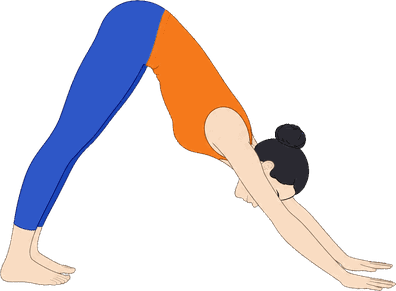 Adho Mukha SvanasanaDownward Facing DogtransitionArdha UttanasanaHalf LifttransitionUttanasanaStanding Forward FoldtransitionUrdhva HastasanaArms Raisedtransition
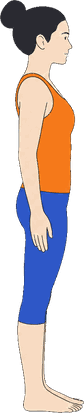 SamasthitihiEqual Standingtransition
18 steps
Surya Namaskara B
One round of the second sun salutation. Seventeen vinyasas, passing through Chaturanga, Updog and Downdog three times, with Utkatasana at the start and Virabhadrasana A on each side.
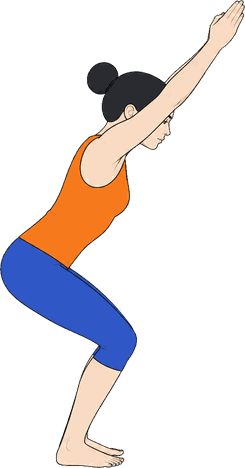 UtkatasanaChair PosetransitionUttanasanaStanding Forward FoldtransitionArdha UttanasanaHalf LifttransitionChaturanga DandasanaFour-Limbed StafftransitionUrdhva Mukha SvanasanaUpward Facing DogtransitionAdho Mukha SvanasanaDownward Facing Dogtransition
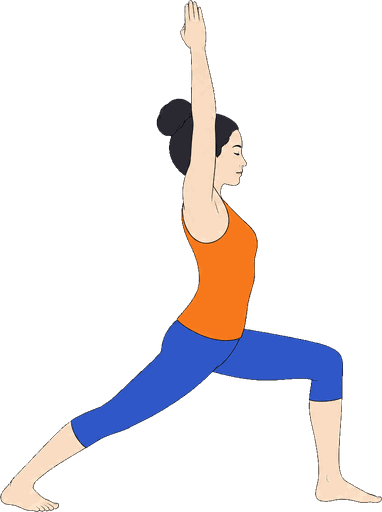 Virabhadrasana A · rightWarrior One1 breathChaturanga DandasanaFour-Limbed StafftransitionUrdhva Mukha SvanasanaUpward Facing DogtransitionAdho Mukha SvanasanaDownward Facing DogtransitionVirabhadrasana A · leftWarrior One1 breathChaturanga DandasanaFour-Limbed StafftransitionUrdhva Mukha SvanasanaUpward Facing DogtransitionAdho Mukha SvanasanaDownward Facing Dog5 breathsArdha UttanasanaHalf LifttransitionUttanasanaStanding Forward FoldtransitionUtkatasanaChair PosetransitionSamasthitihiEqual Standingtransition
31 steps
Standing
The standing sequence, from Padangusthasana through to Virabhadrasana B, both sides of each posture and the returns to Samasthitihi included.
SamasthitihiEqual Standingtransition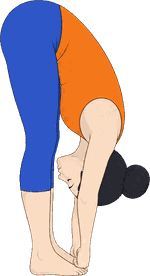 PadangusthasanaBig Toe Pose5 breaths
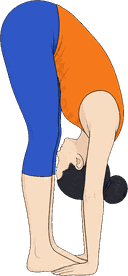 PadahastasanaHands Under Feet5 breaths
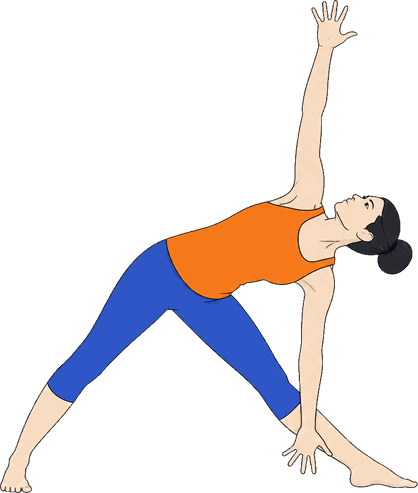 Utthita Trikonasana · rightExtended Triangle5 breathsUtthita Trikonasana · leftExtended Triangle5 breaths
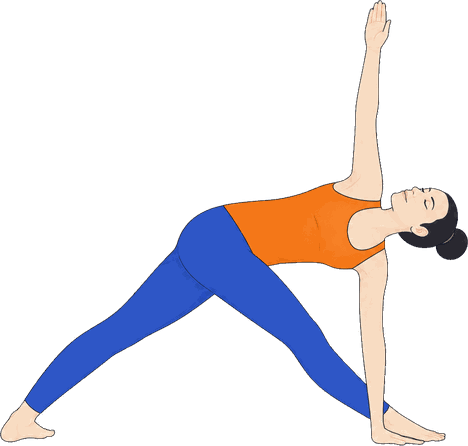 Parivrtta Trikonasana · rightRevolved Triangle5 breathsParivrtta Trikonasana · leftRevolved Triangle5 breaths
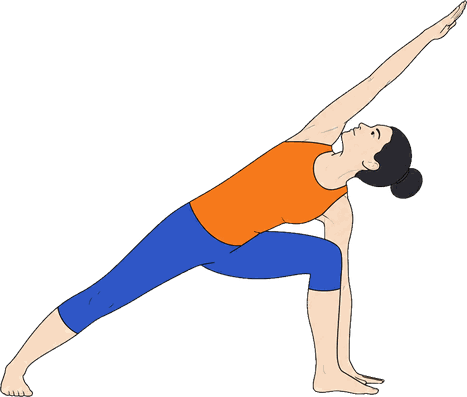 Utthita Parsvakonasana · rightExtended Side Angle5 breathsUtthita Parsvakonasana · leftExtended Side Angle5 breaths
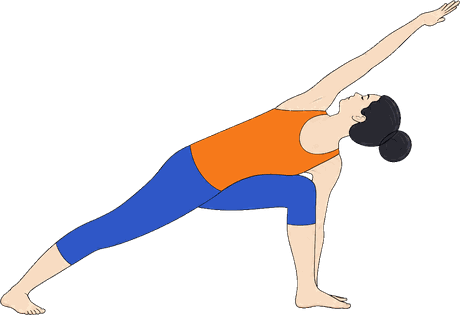 Parivrtta Parsvakonasana · rightRevolved Side Angle5 breathsParivrtta Parsvakonasana · leftRevolved Side Angle5 breaths
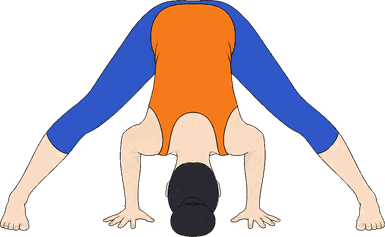 Prasarita Padottanasana AWide-Leg Forward Fold A5 breaths
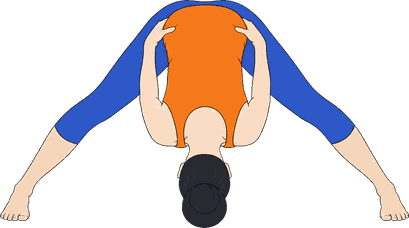 Prasarita Padottanasana BWide-Leg Forward Fold B5 breaths
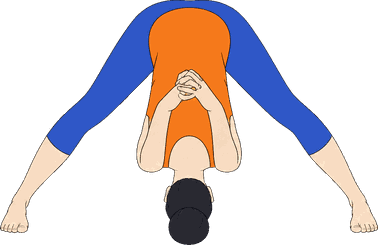 Prasarita Padottanasana CWide-Leg Forward Fold C5 breaths
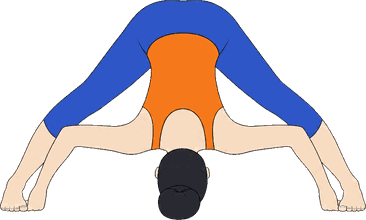 Prasarita Padottanasana DWide-Leg Forward Fold D5 breaths
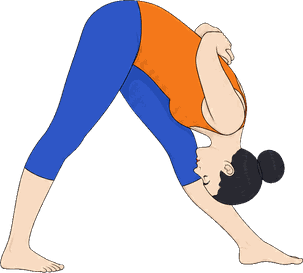 Parsvottanasana · rightIntense Side Stretch5 breathsParsvottanasana · leftIntense Side Stretch5 breaths
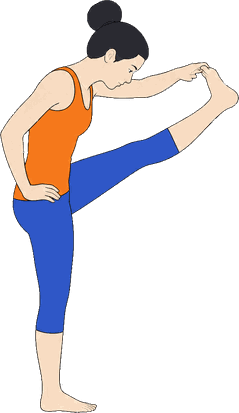 Utthita Hasta Padangusthasana A · rightExtended Hand-to-Toe Pose A5 breaths
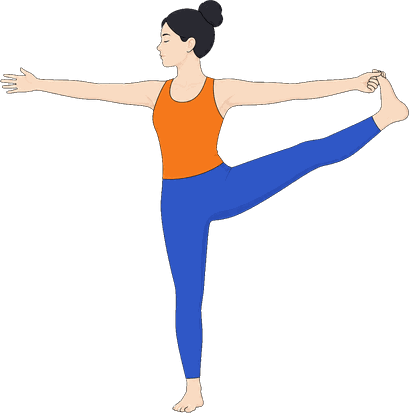 Utthita Hasta Padangusthasana B · rightExtended Hand-to-Toe Pose B5 breaths
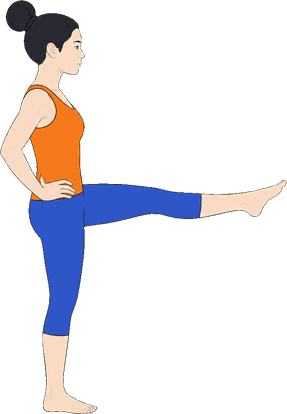 Utthita Hasta Padangusthasana C · rightExtended Hand-to-Toe Pose C5 breathsUtthita Hasta Padangusthasana A · leftExtended Hand-to-Toe Pose A5 breathsUtthita Hasta Padangusthasana B · leftExtended Hand-to-Toe Pose B5 breathsUtthita Hasta Padangusthasana C · leftExtended Hand-to-Toe Pose C5 breaths
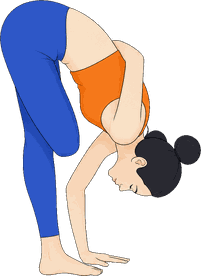 Ardha Baddha Padmottanasana · rightHalf Bound Lotus Standing Forward Fold5 breathsArdha Baddha Padmottanasana · leftHalf Bound Lotus Standing Forward Fold5 breathsUtkatasanaChair Pose5 breathsVirabhadrasana A · rightWarrior One5 breathsVirabhadrasana A · leftWarrior One5 breaths
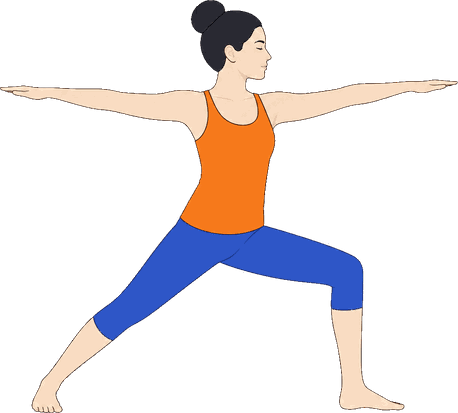 Virabhadrasana B · leftWarrior Two5 breathsVirabhadrasana B · rightWarrior Two5 breathsSamasthitihiEqual Standingtransition
46 steps
Seated
The seated sequence, from Dandasana through to Setu Bandhasana, both sides included. The vinyasa between postures is not listed as a step here.
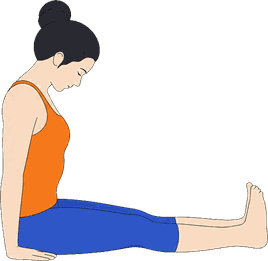 DandasanaStaff Pose5 breaths
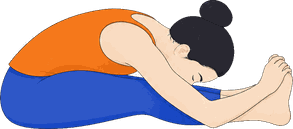 Paschimottanasana AWest Stretch A5 breaths
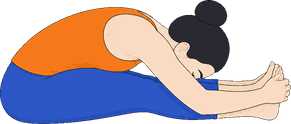 Paschimottanasana BWest Stretch B5 breaths
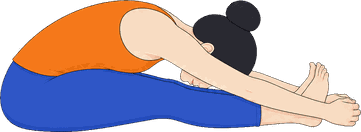 Paschimottanasana CWest Stretch C5 breaths
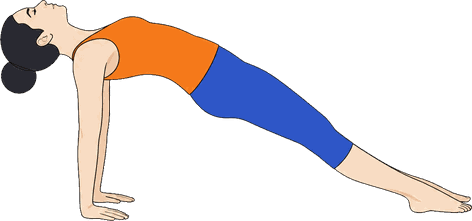 PurvottanasanaEast Stretch5 breaths
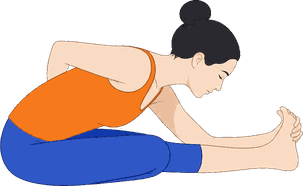 Ardha Baddha Padma Paschimottanasana · rightHalf Bound Lotus Forward Fold5 breathsArdha Baddha Padma Paschimottanasana · leftHalf Bound Lotus Forward Fold5 breaths
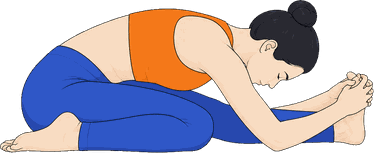 Triang Mukha Eka Pada Paschimottanasana · rightThree Limbs Facing One Foot Forward Fold5 breathsTriang Mukha Eka Pada Paschimottanasana · leftThree Limbs Facing One Foot Forward Fold5 breaths
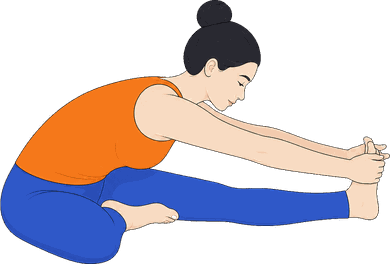 Janu Sirsasana A · rightHead to Knee A5 breathsJanu Sirsasana A · leftHead to Knee A5 breaths
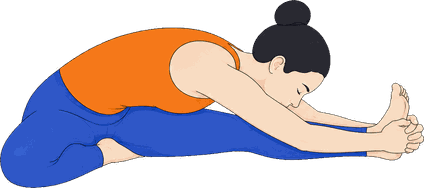 Janu Sirsasana B · rightHead to Knee B5 breathsJanu Sirsasana B · leftHead to Knee B5 breaths
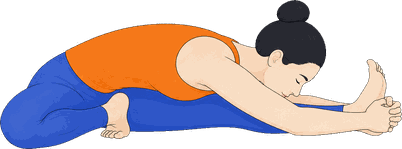 Janu Sirsasana C · rightHead to Knee C5 breathsJanu Sirsasana C · leftHead to Knee C5 breaths
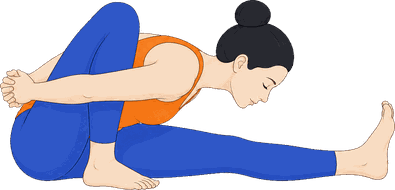 Marichyasana A · rightMarichi's Pose A5 breathsMarichyasana A · leftMarichi's Pose A5 breaths
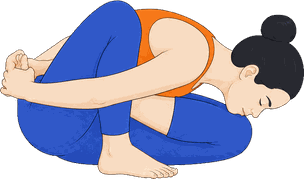 Marichyasana B · rightMarichi's Pose B5 breathsMarichyasana B · leftMarichi's Pose B5 breaths
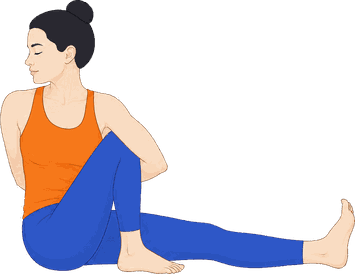 Marichyasana C · rightMarichi's Pose C5 breathsMarichyasana C · leftMarichi's Pose C5 breaths
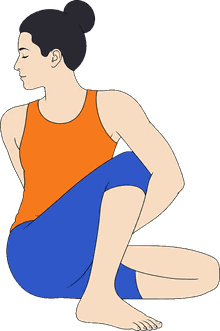 Marichyasana D · rightMarichi's Pose D5 breathsMarichyasana D · leftMarichi's Pose D5 breaths
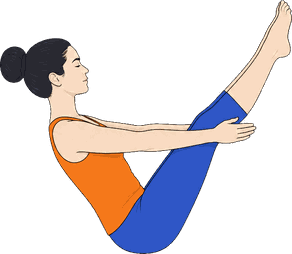 NavasanaBoat Pose5 breathsNavasanaBoat Pose5 breathsNavasanaBoat Pose5 breathsNavasanaBoat Pose5 breathsNavasanaBoat Pose5 breaths
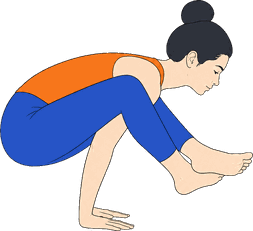 BhujapidasanaShoulder Pressing Pose5 breaths
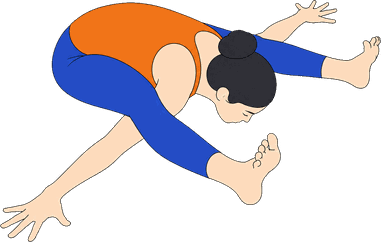 KurmasanaTortoise Pose5 breaths
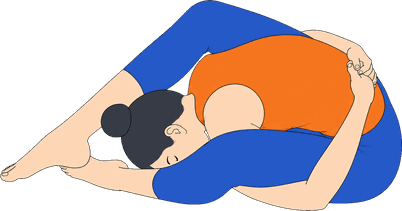 Supta KurmasanaSleeping Tortoise Pose5 breaths
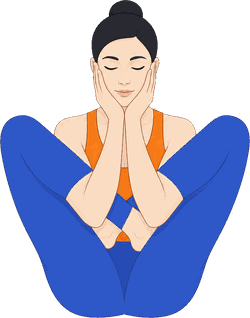 Garbha PindasanaEmbryo in the Womb Pose5 breaths
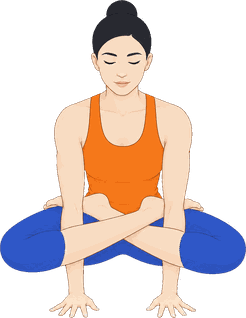 KukkutasanaRooster Pose5 breaths
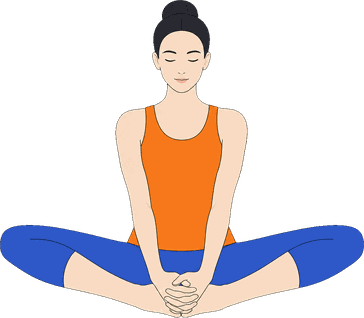 Baddha Konasana ABound Angle Pose A5 breaths
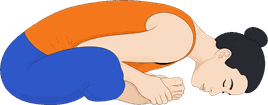 Baddha Konasana BBound Angle Pose B5 breaths
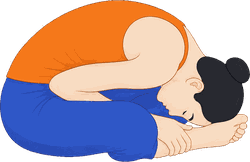 Baddha Konasana CBound Angle Pose C5 breaths
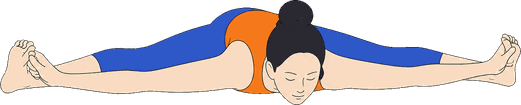 Upavistha Konasana AWide Angle Seated Fold A5 breaths
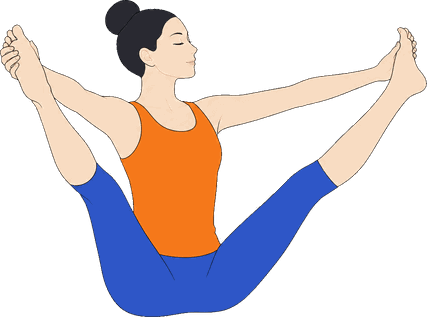 Upavistha Konasana BWide Angle Seated Fold B5 breaths
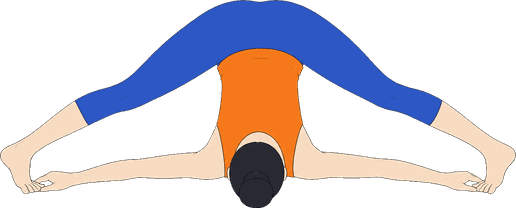 Supta KonasanaReclined Angle Pose5 breaths
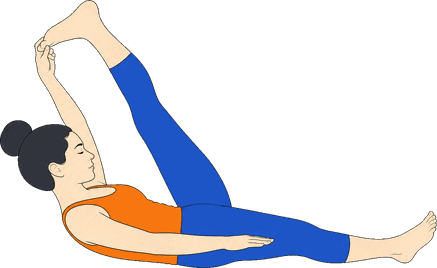 Supta Padangusthasana A · rightReclined Big Toe Pose A5 breaths
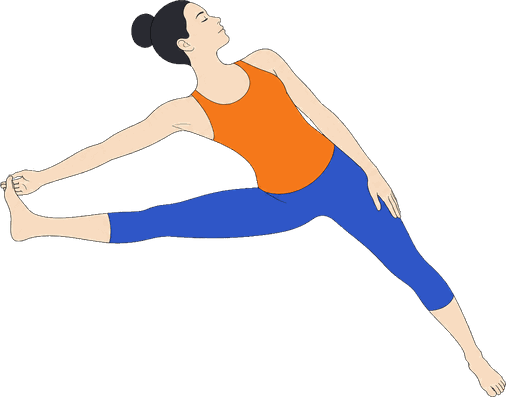 Supta Padangusthasana B · rightReclined Big Toe Pose B5 breathsSupta Padangusthasana A · leftReclined Big Toe Pose A5 breathsSupta Padangusthasana B · leftReclined Big Toe Pose B5 breaths
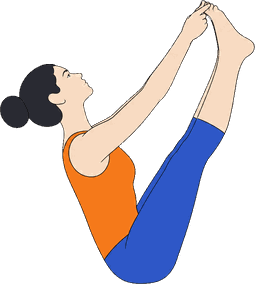 Ubhaya PadangusthasanaBoth Big Toes Pose5 breaths
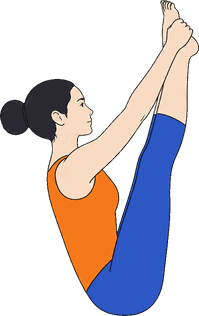 Urdhva Mukha PaschimottanasanaUpward Facing Forward Fold5 breaths
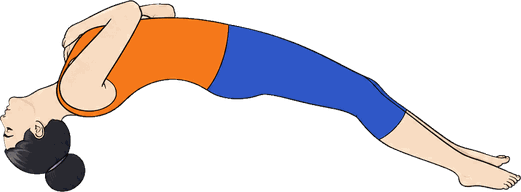 Setu BandhasanaBridge Pose5 breaths
4 steps
Backbends
Three rounds of Urdhva Dhanurasana, then Paschimottanasana to release the back, between the end of the seated sequence and the start of the closing.
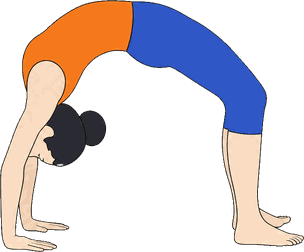
15 steps
Closing
The closing sequence, finishing in Shavasana.
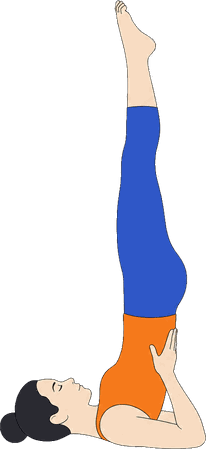 Salamba SarvangasanaSupported Shoulderstand25 breaths
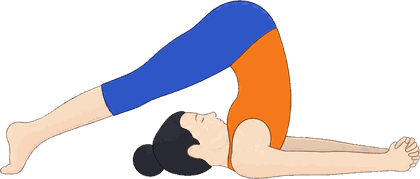 HalasanaPlow Pose10 breaths
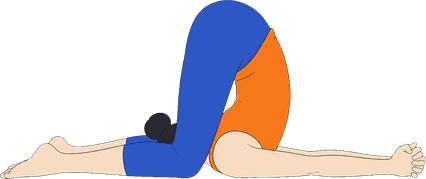 KarnapidasanaEar Pressure Pose10 breaths
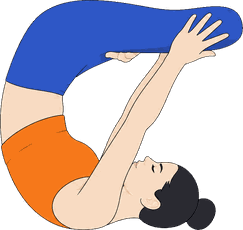 Urdhva PadmasanaUpward Lotus10 breaths
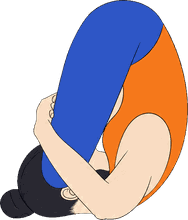 PindasanaEmbryo Pose10 breaths
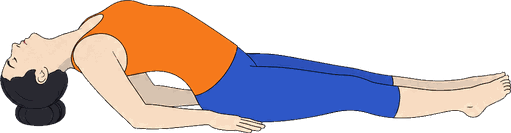 MatsyasanaFish Pose10 breaths
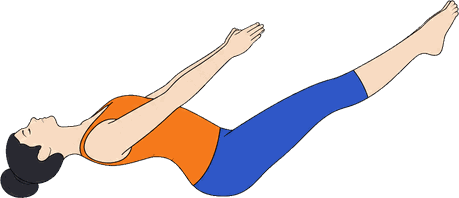 Uttana PadasanaStretched Foot Pose10 breaths
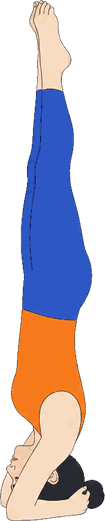 SirsasanaHeadstand25 breaths
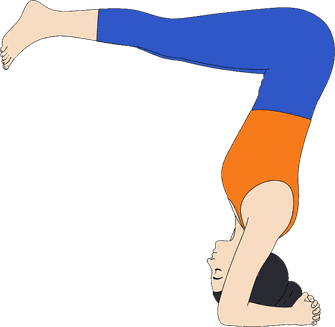 Ardha SirsasanaHalf Headstand10 breaths
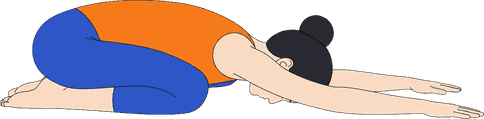 BalasanaChild's Pose5 breaths
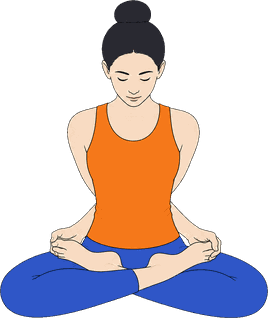 Baddha PadmasanaBound Lotus Pose10 breaths
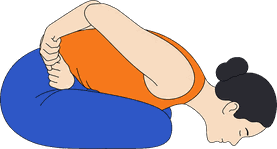 Yoga MudrasanaYoga Seal10 breaths
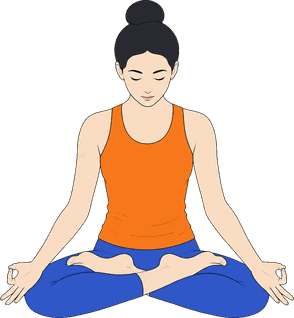 PadmasanaLotus Pose10 breaths
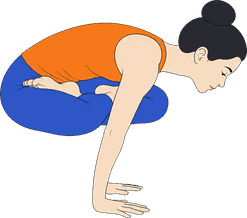 UtpluthihiUprooting25 breaths
 ShavasanaCorpse Poserest
The count, kept for you
This page is the reference. My Ashtanga is the practice: the same sequence, counted aloud vinyasa by vinyasa in Sanskrit or English, with the drishti spoken for every posture.
Download on the App Store